
How to Send Photos to Clients for Selection: Best Practices
Introduction: Why How You Send Photos to Clients for Selection Matters
What if a sloppy selection process is the single biggest time-suck in your business? You can reclaim hours—and happier clients—by changing how you send photos to clients for selection right now. This article shows practical ways to streamline selection so you spend less time editing and more time shooting.
Common pain points photographers face
The most common friction points come from unclear delivery and scattered feedback.
- Clients get overwhelmed by dozens of full-resolution files instead of a curated client gallery.
- Feedback arrives in text messages, comments, and emails, creating a messy photo proofing trail.
- You end up editing photos the client later rejects because choices weren’t guided.
- Slow selection cycles push deadlines and create rush edits.
Make selection effortless: curate a short, clear gallery, give simple instructions, and use built-in comments so clients can choose with confidence.
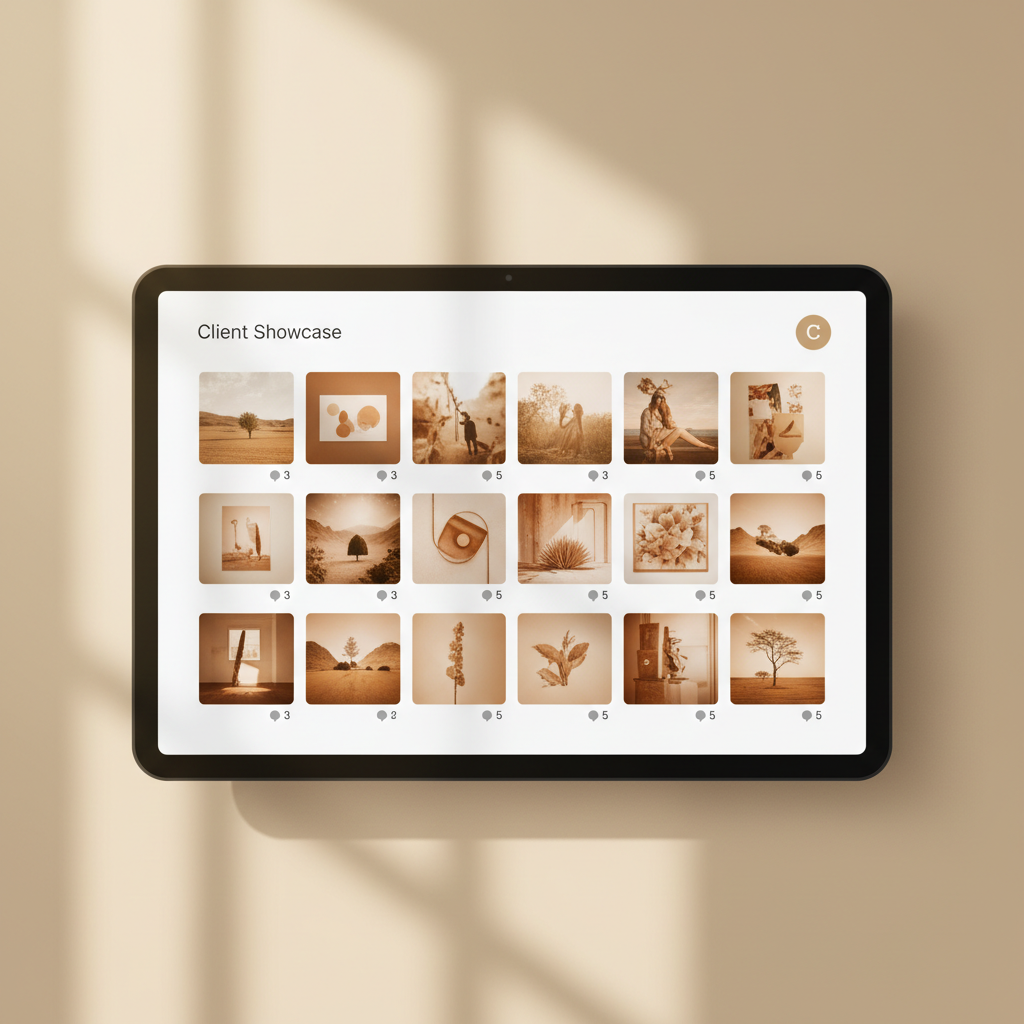
Business benefits: faster turnarounds, fewer edits, happier clients
Faster decisions mean you ship galleries sooner and cash flows improve. Using structured online proofing and gallery selection tools speeds approvals and reduces back-and-forth.
Fewer edits mean you edit only the images the client actually wants, saving hours per wedding or session. Improved clarity and a smooth client experience lead to referrals and repeat bookings—clients appreciate a simple selection process.
What you’ll learn in this guide
You’ll get a step-by-step photo culling workflow and concrete photo delivery options that scale. Expect actionable tips on:
- Setting up a photo proofing workflow that prevents confusion.
- Building a concise client gallery and using gallery selection tools.
- Collecting clear client feedback on photos and integrating it into your edits.
- Choosing the right photo delivery options for different clients and packages.
Apply these tactics and you’ll cut turnaround times, lower revision rates, and make clients excited to work with you again.
Key criteria for choosing a selection method
Ease of use for clients (mobile + desktop)
Ease of use for clients determines whether they actually complete selections. The interface should work flawlessly on both mobile and desktop, with clear thumbnails, pinch/zoom on phones, and keyboard shortcuts on larger screens. Offer accountless viewing or simple sign-in to remove friction and speed up responses.
Speed, reliability and sharing limits
Speed and uptime protect client patience and your reputation. Choose a service with fast uploads, CDN-backed delivery, and sensible sharing limits (per-gallery links, password protection, and expirations). Make sure galleries support large guest lists without throttling or hidden download caps.
Image quality, download options, and file sizes
Control over image quality and download formats prevents surprises at delivery. Let clients preview web-optimized JPEGs but request or download full-resolution files only when needed. Offer clear download choices so they understand trade-offs between speed and fidelity.
- Web-sized previews (fast, small)
- High-resolution JPEGs for prints
- Full RAW/ZIP export for final delivery
- Selective downloads per-photo to avoid huge transfers
Feedback features: annotations, favorites, and notes
Feedback tools reduce back-and-forth and speed your culling workflow. Look for built-in annotations, easy “favorite” or star systems, timestamped comments, and exportable selection lists you can import into your editing pipeline. Those features are what turn client galleries into actionable tasks.
Choose a tool that makes it effortless for clients to mark favorites and add clear notes on any device — that single capability will cut revision time and email threads dramatically.
Branding, presentation, and privacy controls
Branding and privacy control how clients experience your work and protect their images. Use platforms that allow logo, custom domain, watermarks, and granular privacy settings (passwords, hidden galleries, per-photo restrictions). Presentation options like lightbox mode and full-screen slideshows increase perceived value.
Cost, scalability and team workflows
Cost should scale with how you work, not block growth. Compare per-gallery fees, storage limits, seat-based access, and API integrations that let your assistants or second shooters upload and tag images. Ensure the platform supports role-based permissions so your team can manage galleries without exposing your entire account.
Top methods to send photos to clients for selection (pros & cons)
Email attachments or links — simple but limited
Email attachments work for quick, small deliveries and one-off requests. Pros: immediate, familiar to clients, no sign-up required. Cons: attachment size limits, messy threads, poor support for selection or client feedback on photos.
- Good when you need a fast proof or a single edited image.
- Bad when you need gallery selection tools, versioning, or high-res downloads.
Cloud drives (Dropbox/Google Drive) — generic sharing
Cloud drives give reliable file access and large storage without extra cost for basic use. Pros: easy folder organization, large file support, link sharing. Cons: no photo-centric interface, no built-in online proofing or selection checkboxes.
- Best for raw transfers or backup delivery.
- Not ideal for curated client galleries or guiding a photo culling workflow.
Let clients choose confidently: use a tool that makes selection and feedback simple, not just a place to dump files.
Client gallery platforms (Pixieset, ShootProof) — photo-centric
Client gallery platforms focus on presentation and download options with prettier client galleries. Pros: polished galleries, e-commerce and print ordering, basic selection features. Cons: limited advanced proofing controls, inconsistent gallery selection tools across vendors.
- Use these when presentation and selling prints matter.
- Expect moderate photo proofing features but fewer selection-focused workflows.
Photo proofing tools (like.photos and others) — selection-focused
Photo proofing tools build selection into the workflow with deliberate gallery selection tools and built-in client feedback on photos. Pros: checkbox selections, annotations, approval flows, analytics. Cons: subscription cost and setup time.
- Ideal when you need streamlined client choices, clear feedback, and tight photo culling workflow.
- Choose this if you want consistent, repeatable selection processes and fewer follow-up emails.
Self-hosted/private website galleries — full control, more setup
Self-hosted galleries give total control over branding, delivery, and data. Pros: full customization, no third-party branding, integration with your site. Cons: technical setup, maintenance, and responsibility for security and backups.
- Best for studios wanting bespoke experiences or unique workflows.
- Expect higher upfront work but full control over photo delivery options.
Choose the method that fits your time, clients, and how much control you need when you send photos to clients for selection.
Step-by-step workflow for fast client selections
Cull and prepare proofs before export
Start by culling to a tight, client-facing set so choices stay fast and clear. When you send photos to clients for selection, aim for 40–200 proofs depending on session type; too many slows decisions.
Create a shortlist for similar poses and strong favorites, then remove near-duplicates and soft-focus shots. Use your photo culling workflow to flag picks (1–3 tiers) so export filters are consistent.
Export optimized proof files and thumbnails
Export optimized proofs: web-resolution JPGs around 1200–1600px, plus small thumbnails for the gallery grid. Include embedded color profile and consistent naming (e.g., ClientName_0012).
Also export full-resolution originals in a separate folder for retouching to avoid accidental delivery.
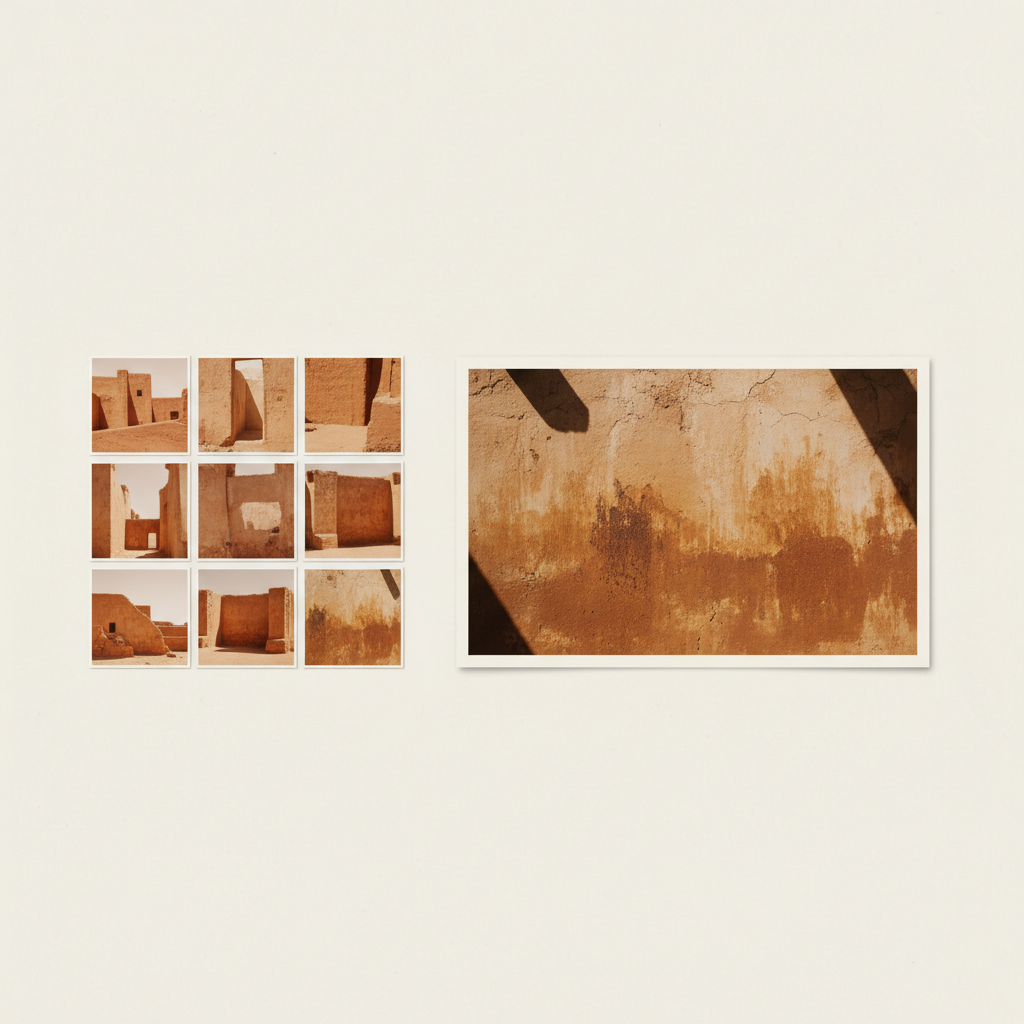
Create the gallery/proof and set selection rules
Publish a client gallery with clear selection tools (stars, hearts, selects) enabled and lock down download rights if needed. Set limits like maximum selects or tiered choices (e.g., choose 10 for full edits, 3 for 8x10 prints).
Use online proofing features to show thumbnails, allow zoom, and record selections automatically so nothing must be transcribed.
Clear rules + an easy, mobile-friendly gallery cut client response time in half.
Add clear instructions, examples, and deadlines
Put the most important instructions at the top: what to pick, how many, and the deadline. Give one visual example of a finished deliverable and a short FAQ about edits and swaps.
Reinforce choices by explaining what happens after selections (retouch timeline, prints, delivery).
Automate reminders and capture client feedback
Set up automated email/SMS nudges before the deadline and a follow-up if the gallery is untouched; this saves hours of manual chasing. Capture client feedback on photos with comment tools so you get context on swaps or retouch requests.
Log all responses in your proofing system so you can export a final selection CSV for production.
Finalize selections and update delivery/retouch plans
Confirm the final selection by marking it "approved" and lock the gallery to prevent changes. Update your retouch queue and delivery plan immediately: batch edits, schedule proofs, and set expected ship dates.
Export the selection list and any comments to your workflow app so production moves without re-checking the gallery.
Best practices to increase client response and reduce revisions
Give simple, numbered selection options and limits
Give a clear, limited set of choices so clients decide quickly. When you send photos to clients for selection, offer 3 clear options with hard limits (e.g., pick 5, 20, or the full gallery).
- Quick pick — choose up to 5 favorites for fast social posts.
- Standard — select 20 images for the core album.
- All or album — choose every approved shot for full delivery.
Keep each option labeled by use case and price to avoid back-and-forth.
The single fastest way to reduce revisions: present 1–3 clearly labeled, limited choices and show what each choice delivers.
Use favorites, checkboxes or star ratings for clarity
Use simple selection controls so clients communicate intent without confusion. Let clients mark favorites or checkboxes for final picks, and offer a 1–5 star option for quality feedback. These controls integrate with gallery selection tools and speed up your photo culling workflow.
Provide visual examples and brief guidance
Provide concrete visual examples to set expectations before they choose. Include a small set of sample edits (color, crop, retouch level) and caption each example with what “final” will look like. Visuals reduce questions about looks and technical edits in your client gallery.
Set realistic deadlines and one-click reminders
Set a clear, reasonable deadline to spur action and avoid endless delays. Aim for 48–72 hours for initial selections and automate one-click reminders via your online proofing system. Reminders and a visible countdown reduce late responses and unnecessary follow-ups.
Offer default package suggestions to reduce indecision
Offer a “recommended” default to guide undecided clients toward a practical choice. Pre-fill a default package (“Most Popular: 20 images + 5 retouches”) and explain why it fits most clients. Default suggestions pair well with showing client feedback on photos and simplify final delivery choices across your photo delivery options.
Templates, messaging and technical settings you can reuse
Gallery/email message template (short + clear CTA)
Keep the message under three sentences and give a single, clear CTA.
Suggested template:
- Subject: Your gallery is ready — pick your favorites
- Line 1: Hi [Name], your client gallery is ready with X images.
- Line 2: Click the link, mark your favorites, and submit your selections by [date].
- Line 3: Questions? Reply here. — [Your Name/Studio]
How to choose file sizes, compression, and format
Always match file delivery to client use: web previews vs. prints require different settings.
Recommended quick settings:
- Previews: JPEG 1024–1600px, quality 70–80% for fast loading.
- Viewing/downloads for client approval: JPEG 2048px, quality 85% for accurate color.
- Final prints: full-resolution TIFF or high-quality JPEG exports on request.
Watermarks, download permissions and expiry links
Use a subtle watermark on previews if you need protection, but avoid heavy branding that blocks judging.
Settings to reuse per shoot:
- Allow/deny downloads for previews; enable downloads after payment.
- Set link expiry (7–30 days) for temporary proofing.
- Use password protection for sensitive sessions and log downloads for record-keeping.
Make choosing and delivering images frictionless: short, actionable messaging plus consistent export and permission presets cut selection time and reduce revision cycles.
Labeling images and using numbered exports for selections
Start with a consistent naming convention so clients reference images easily.
Simple workflow:
- Export proofs as YYYYMMDD_Session_001.jpg…
- Include visible sequential numbers in the photo proofing gallery view.
- Ask clients to select by number or use gallery selection tools for checkboxes.
Integrations and automation tips (contracts, invoices, shoots)
Automate common steps to keep setup consistent across jobs.
Connect your gallery to contract and invoice tools to trigger: gallery invite after contract signature, invoice on selection, and reminder emails if no response after X days.
Use tags and saved templates to auto-assign proofing settings per shoot type.
For the next step in this workflow, read How to Get Clients to Choose Their Photos Faster and Lightroom Client Selection Workflow: Find Picks by Filename.
Conclusion and next steps — streamline selections with like.photos
Quick recap: pick a client-friendly proofing method and a repeatable workflow
Choose a client-friendly gallery and a repeatable workflow that minimizes steps for both you and the client. When you send photos to clients for selection, front-load clarity: curated sets, clear instructions, and one-click selection tools drive faster responses.
Focus on reducing friction with gallery selection tools and consistent filename conventions so you never lose track of picks.
Checklist: what to set up today
Start with the essentials you can finish in an hour:
- Create a proofing gallery with only the best selects (cull first).
- Turn on selection tools (favorites/hearts) and require minimal clicks.
- Set a clear deadline and reminder schedule.
- Standardize a filename system so selections map directly to source files.
- Enable client feedback on photos (comments or timestamps) and confirm notification settings.
- Document your photo culling workflow so you or your assistant can repeat it.
Make the selection step almost effortless: a curated gallery, one-click favorites, and a clear deadline will cut approval time and revisions dramatically.
Try like.photos to simplify proofing, capture selections, and speed approvals
If you want a quick win, test a tool that gives clients simple heart-based selection and returns exact filenames to you. Like.photos lets clients tap hearts on favorites and provides photographers the precise filenames, so your edit pass starts immediately.
Take five minutes to upload a small gallery and try the heart-selection flow — you’ll see whether it cuts your turnaround time.
Concrete takeaway: streamline one part of your process today (gallery setup, selection tool, or filename rule) and measure the time saved on your next job — small changes compound fast. One soft step: try like.photos to see how a focused proofing tool speeds approvals.