
Introduction: Why organizing photography files matters
What if a simple folder system could add 20% more billable time to your week? Mastering how to organize photography files frees time, reduces client friction, and protects your income. You’ll get a practical, repeatable workflow that turns messy shoots into predictable delivery.
The costs of a messy system: time, lost revenue, and risk
A messy file system steals hours every week and creates stress at deadline time. Missed emails, scrambling for RAWs, and duplicate edits slow your turnaround and harm referrals.
A chaotic workflow also puts money on the table. Lost or corrupted files, missed licensing opportunities, and slow proofing kill upsells and refunds.
Key costs include:
- Slow delivery and reduced client satisfaction.
- Wasted post‑processing time during culling and edits.
- Lost sales from misplaced files or missed usage rights.
Consistency beats cleverness: a predictable filename + folder structure + backup plan turns one-off chaos into a repeatable, billable process.
What a professional workflow delivers (speed, consistency, safety)
A professional workflow gives you fast, consistent results that scale with your business. Clear steps for import, photo culling workflow, edit, and export cut review time and speed client approvals.
You gain searchable archives through IPTC metadata and keywords, making asset retrieval minutes instead of hours. Integrating photo proofing tools and a solid photo backup strategy keeps clients happy and your business protected.
Benefits at a glance:
- Faster turnaround and reliable delivery.
- Consistent editing and branding across jobs.
- Reduced risk from data loss and licensing mistakes.
What you'll learn in this guide and downloadable templates
You’ll get a full, step‑by‑step system you can use after your next shoot. Templates include folder structures, naming conventions for photos, IPTC metadata presets, and a culling checklist.
Practical items inside:
- Import and folder templates for weddings and family sessions.
- A culling workflow to speed selections.
- Backup checklist and DAM tips for digital asset management for photographers.
- Proofing integration pointers for fast client approvals.
Apply these templates and you’ll save time, reduce stress, and deliver a noticeably better client experience.
Plan your folder structure and naming conventions
Folder hierarchy templates (by client, event, date, job type)
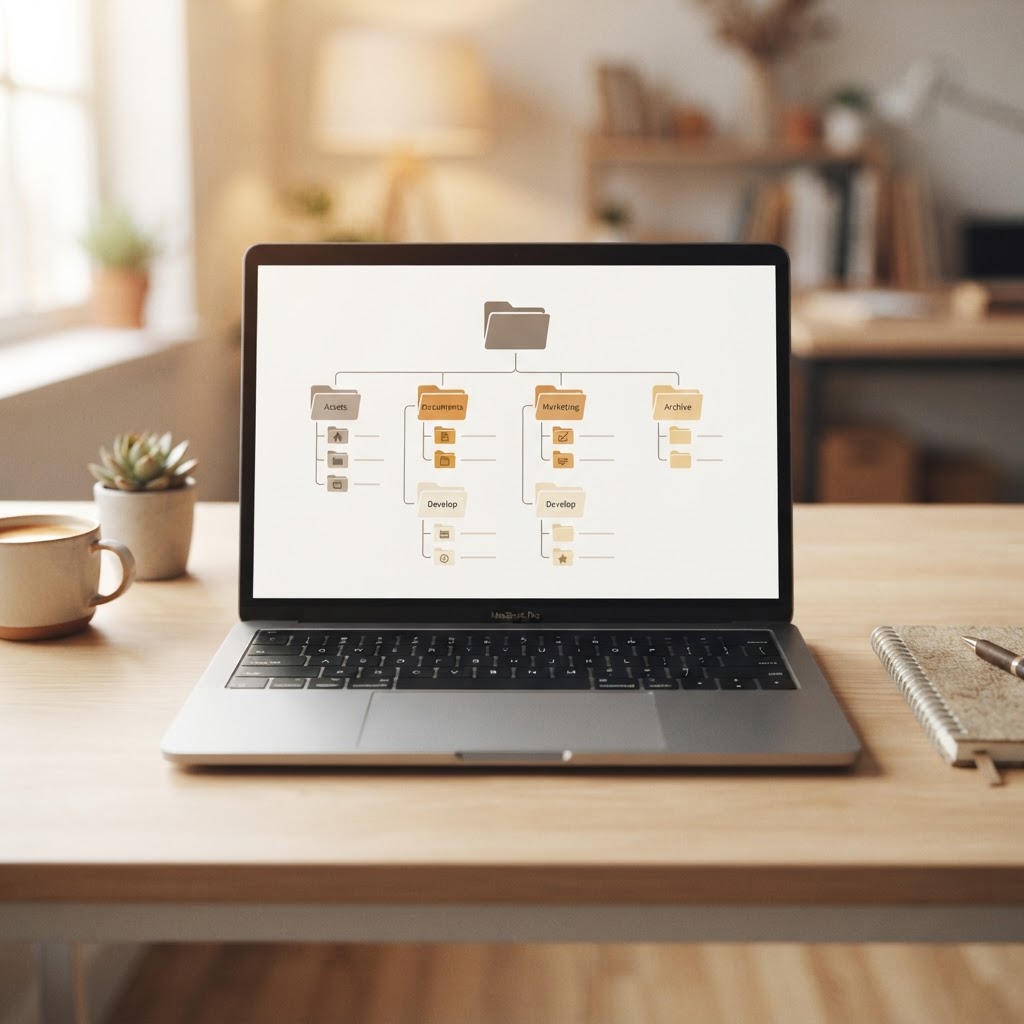
Start folders with the highest-level organizing principle: client or job type so you can find work quickly. Use consistent top-level folders like Clients, Editorial, Stock, Archives.
Keep folder depths shallow — 2–4 levels — to avoid long paths and brittle references. Examples you can copy:
- Clients/Smith_Family/2026-06-12_Newborn/RAW
- Weddings/2025-09-05_Jones_Ceremony/Final_JPEGs
- Editorial/CityMagazine/2026-03/Delivery Create a separate folder for proofs and deliverables if you use photo proofing tools.
Filename conventions that scale (YYYYMMDD_client_session_camera_seq)
Name files so they sort chronologically and identify the shoot at a glance. Use this scalable pattern: YYYYMMDD_client_session_camera_seq.
Concrete examples:
- 20240612_SmithNewborn_R1_0001.CR2
- 20250905_JonesWedding_A7III_0123.ARW
- 20260301_Headshots_K1_0345.DNG
Use a standardized filename that starts with date, includes client/session, and ends with camera+sequence so sorting, searching, and culling work without opening files.
Keep filenames short but informative to speed your photo culling workflow and batch processing in Lightroom or capture tools. Add a suffix for edited versions: 20240612_SmithNewborn_R1_0001_v01.jpg.
Using metadata and sidecars vs. embedding (XMP, DNG)
Prefer XMP sidecars for RAW files when you want portable edits and IPTC fields stored alongside the file. Use DNG if you want embedded metadata and a single-file workflow.
Always populate IPTC metadata and keywords at import: client name, location, usage rights, and keywords for DAM (digital asset management for photographers). That saves search time later.
When to use catalogs vs. loose-file approaches
Choose catalogs if you rely on non-destructive edits, smart collections, and fast search — Lightroom/ACR catalogs speed day-to-day edit workflows. Use a loose-file approach (folder-based with XMP sidecars or DNG) if you need simple portability across apps or cloud sync.
Combine both: maintain a master folder structure on a NAS/drive and use a catalog that references those folders. That balances portability, backup, and the strengths of both systems.
Ingest and culling: the first hour workflow
Immediate backups on ingest (camera card to two destinations)
Make a backup to 2 destinations the moment you offload a card—never trust a single copy. Copy the card to your working drive and to a separate physical drive or NAS, then verify both copies with checksums or a tool that validates file integrity. Use an ingest utility (Photo Mechanic, rsync, or a dedicated copier) that writes checksums and preserves folder structure so you can continue your workflow without guessing.
Duplicate before you delete: confirm checksums on two independent devices and keep the original card until both copies verify.
- Insert card and mount read-only if possible.
- Copy to Working Drive > Client/Job/Date folder.
- Copy to External Drive or NAS (different physical device).
- Run checksum or use tool verification; only then reformat the card.
Tools for fast culling: Photo Mechanic, FastRawViewer, Adobe Bridge, Rating, color labels, and smart selects
Speed up culling with a dedicated viewer that shows raws instantly and lets you tag quickly. Use Photo Mechanic for lightning-fast browsing and metadata write-back; FastRawViewer to evaluate raw exposure and focus; Adobe Bridge if you want a free, scriptable option. Apply a simple rating system—use 1–5 stars, color labels, and move selects into a dedicated "Selects" folder so editing starts cleanly.
- Use 1–5 stars: 3 = keep, 4 = strong, 5 = final selects.
- Use one color for technical rejects, one for client rejects.
- Batch-move all 3+ star images into /Selects for Lightroom or Capture One import.
Automated metadata during ingest (copyright, client, job tags)
Embed IPTC metadata and keywords during ingest so every file carries client, copyright, and usage info from the start. Create and apply ingest templates with copyright, client name, job code, and primary keywords; add location and contact info where relevant. This primes files for editing, speeds searching later, and integrates directly with photo proofing tools and DAM systems.
Editing and version control: non-destructive workflows
Catalog vs. session workflows (Lightroom Classic, Capture One)
Decide your workflow type before you batch-edit to avoid scattered edits and lost history. Catalog workflows (Lightroom Classic) centralize previews and settings in a database, making global searches and long-term DAM easier. Session workflows (Capture One) keep edits next to the shoot folder, giving fast per-job portability and simpler backups.
- Catalog: best for multi-year archives and cross-client searches.
- Session: best for weddings or single-event shoots where each job stays self-contained.
Virtual copies, snapshots, and sidecar files explained
Keep every edit reversible by using software-native non-destructive tools rather than writing new TIFFs. Virtual copies (Lightroom) and snapshots (Capture One/Lightroom) let you create multiple looks without duplicating RAW files. Use sidecar files (.xmp) or the catalog to store metadata and adjustments so the original RAW remains untouched.
- Use virtual copies for variant exports (B&W, crop, client selects).
- Use snapshots to mark milestone edits during retouching.
- Keep sidecar files alongside RAWs for software interoperability.
"Treat the RAW as untouchable: store every edit as metadata or a virtual copy so you can always recreate, compare, or revert without losing your original file."
Naming edited exports and keeping record of final deliverables
Make final deliverable names predictable to speed delivery and support client requests. Start with clientID_date_shotType_version (e.g., Smith_20260510_Wedding_v1). Record final filenames, sizes, and deliverables in your job spreadsheet or DAM so you never resend a wrong file.
- Export with export naming that includes version and size.
- Log filenames and IPTC metadata and keywords for searchability.
Syncing edits across devices and teams
Ensure edits stay consistent by syncing catalogs or using cloud-enabled proofing platforms. Use a single source of truth—either a master catalog or a checked-in session folder—and leverage photo proofing tools to collect client feedback without creating duplicate edited files.
- Sync tips: lock a catalog when collaborating, export sidecar files after major revisions, and back up a nightly copy.
- Keep originals offline and sync only previews/sidecars for speed.
Proofing, client selection, and delivery tools
Best practices for galleries, selection, and feedback (watermarks, deadlines)
Keep galleries simple and clearly labeled so clients act fast. Use a single-purpose gallery for selection (favorites/rejects), a visible deadline, and a short legend that explains the selection process. Always apply watermarks on low-res proofs if you want to protect images before payment or final delivery.
Set expectations up front with these rules:
- Required selections per gallery (e.g., "Pick 20 favorites")
- Clear deadlines and follow-up reminders
- Allowed feedback types (single-image comments vs. overall notes)
Give clients a single, time-limited gallery with explicit selection rules and clear export options — it speeds decisions and reduces rework.

Proofing tools comparison: Lightroom Web, Pixieset, ShootProof, like.photos
Choose a tool based on speed, branding, sales features, and client UX. Below are quick tradeoffs.
- Lightroom Web — Great if you already use Lightroom Classic/CC; fast sync, limited branding and sales features, basic selection tools.
- Pixieset — Beautiful, client-friendly galleries with commerce options; heavier on customization and fee tiers.
- ShootProof — Robust ordering and contract features; adds complexity and transaction costs.
- like.photos — Built for fast client selection and lightweight proofing; minimal setup, instant galleries, and smooth culling-to-proofing handoff.
Where like.photos fits in: fast client selection and lightweight proofing
Use like.photos when speed and clarity matter more than e-commerce bells. It excels when you already have a culling workflow and need clients to quickly mark selects, leave comments, and approve images without overwhelming options. It preserves IPTC metadata and works well with your photo file organization and digital asset management for photographers.
Export presets and delivery formats (web, print, social)
Standardize exports so delivery is predictable and repeatable. Use these quick presets:
- Web: Export presets — sRGB, long edge 2048 px, JPEG 70–80%, sharpen for screen.
- Print: TIFF or JPEG, 300 ppi, embed color profile (Adobe RGB or ProPhoto depending on lab).
- Social: sRGB, square or 1080 px long edge, mild sharpening, platform-specific crops.
Embed IPTC metadata and keywords on final files to support your naming conventions for photos, backup strategy, and long-term digital asset management. This keeps client selections linked to master files and streamlines final delivery.
Backup, archive, and long-term storage strategy
3-2-1 backup explained (onsite, offsite, cloud)
Follow a 3-2-1 backup rule: three copies, on two different media, with one copy offsite. This simple formula gives you resilience against drive failure, theft, and disasters without complicated systems.
Keep one active copy for editing, one onsite duplicate (like an external drive or NAS), and one offsite (cloud or physical vault).
- Local primary: fast access for editing and proofing.
- Local secondary: mirror for quick recovery.
- Offsite: the final safety net against site-level loss.
Checksums and verification (ensure file integrity over time)
Use checksums to detect bitrot and silent corruption before it costs you client deliveries. Generate checksums (md5/sha256) on ingest and verify them during every transfer and at scheduled intervals.
Automate verification with tools like rsync --checksum, HashCheck, or dedicated DAM solutions for photographers.
Run automated checksum verification monthly — silent file corruption happens slowly and you won't notice until a delivery fails.
Affordable long-term archives: cold cloud, external HDD, LTO
Choose archive media based on budget and acceptable risk: cold cloud storage, external HDDs, or LTO tapes each fit different scenarios. Cold cloud gives low-touch redundancy and geographic safety; external HDDs offer the cheapest per-GB for small catalogs; LTO provides enterprise-grade longevity for large, high-value archives.
Factor in restore time, media lifespan, and cost-per-GB when deciding. Rotate drives/tapes, maintain at least two archival copies, and keep one copy geographically separated.
Retention policies and when to delete or archive RAW files
Define clear retention rules tied to client needs and business risk so your digital asset management stays manageable. Typical rules:
- Keep full RAW + edits for at least 2 years after delivery for primary client work.
- Archive RAW to cold cloud or tape after you finish edits and client approval.
- Delete only after explicit client permission or after a long-term retention trigger (e.g., 7+ years) and after preserving IPTC metadata and keywords.
Apply consistent naming conventions for photos and IPTC metadata before archiving so future searches work. Tie retention to your photo culling workflow, proofing records, and client contracts to avoid accidental loss. When you set this once, your photo backup strategy becomes a reliable part of how to organize photography files.
Automation, metadata and keywording for future findability
Batch keywording and IPTC templates
Start by writing a compact set of keywords you reuse across clients and sessions. Apply batch keywording at ingest so core metadata travels with the files from day one and speeds later searches. Use IPTC templates to populate fields like client name, copyright, contact, and basic keywords automatically. Small upfront discipline here cuts search time dramatically when your archive grows.
Set consistent IPTC fields at ingest and treat keywords as evolving — baseline now, refine later.
Automating repetitive tasks with presets, scripts, and watch folders
Create Lightroom/Bridge presets and export scripts for common edits, metadata, and deliverable sizes so you don’t repeat the same clicks. Use OS or DAM watch folders that trigger scripts to rename, add a deliverable size, or move selects into a proofing queue. Automate three things first: metadata injection, file renaming, and deliverable exports — then expand as you spot repetition.
Using AI-assisted keywording carefully (pros and pitfalls)
Trust AI for bulk tagging to speed up initial discovery, but verify every tag before client-facing use. AI-assisted keywording handles obvious objects and scenes quickly, but it mislabels people, nuanced locations, and rights information. Use AI as a first pass: accept broad scene tags and then apply precise IPTC keywords and usage rights manually.
Tag taxonomy: client, session type, location, talent, usage rights
Design a simple, consistent tag taxonomy and stick to it so your DAM scales with less effort. Use this core list as a starter:
- Client: client_fullname (e.g., smith_jones)
- Session type: wedding, portrait, family, engagement
- Location: city_region or venue_shortname
- Talent: fullnames or role_photographer, role_model
- Usage rights: editorial, commercial, personal_use
Apply these tags at ingest and refine after culling so your photo proofing tools and searches return exact matches. Clean, consistent tags make future findability effortless and reduce manual work over time.
For the next step in this workflow, read Lightroom Client Selection Workflow: Find Picks by Filename and Batch Editing Workflow: The Ultimate Guide to Photo Proofing.
Conclusion and next steps + soft CTA
You now have a clear, repeatable path to faster delivery, safer archives, and happier clients by applying this how to organize photography files workflow. Keep decisions simple, enforce one habit at a time, and measure the time saved after a few shoots.
Quick checklist to implement this workflow in a day
Use this checklist to convert theory into action in a single workday.
- Set your Folder structure and naming convention for today’s shoots.
- Ingest and perform a focused Culling pass (pick selects, reject raws).
- Apply IPTC metadata and core keywords to your primary selects.
- Start edits non-destructively and save exports with versioned names.
- Push selects to a proofing session and invite the client.
- Verify delivery copies hit at least one local and one cloud Backup.
- Archive raw folders to long-term storage and log locations.
- Schedule a 30‑minute weekly automation check to refine the flow.
Consistency beats perfection: pick a minimal system you can follow every shoot and automate the rest.
Common pitfalls to avoid as you adopt the system
Don't overcomplicate your initial setup; complexity kills adoption. Keep folder depth shallow and rules rigid enough to be followed without thinking.
Avoid mixing working files and exports. Store only active edits in your working folder and move finalized exports to delivery folders.
Don't skip metadata — missing IPTC metadata and keywords will cost you hours later when searching. Populate at least the essentials before archiving.
Don't rely on a single backup copy. Implement the 3-2-1 rule (3 copies, 2 media types, 1 offsite) and test restores quarterly.
Try a focused tool: why photographers choose like.photos for quick client selections (try a free demo)
Use a focused proofing tool to collapse days of back-and-forth into hours. like.photos lets clients tap hearts on favorites and returns exact filenames, so you can finalize edits immediately without guesswork.
Takeaway: implement the checklist on one upcoming shoot this week and streamline your process; if you want a faster client-selection step, try a free demo of like.photos to see how hearts + filename exports cut decision time.